pixel art tutorial
welcome to my tutorial on how to make pixel graphics! for this tutorial i'll be using photoshop 7 (2002), but any newer versions of photoshop should be able to do the same thing. as long as your art program has the option to save web graphics, you might be able to follow along. for the sake of simplicity i'll assume you know how to do basic things in photoshop, if not they're easy to google.
first, choose your image. i recommend using your own art, something public domain, or a picture from an official source - don't use someone else's fanart without their permission!
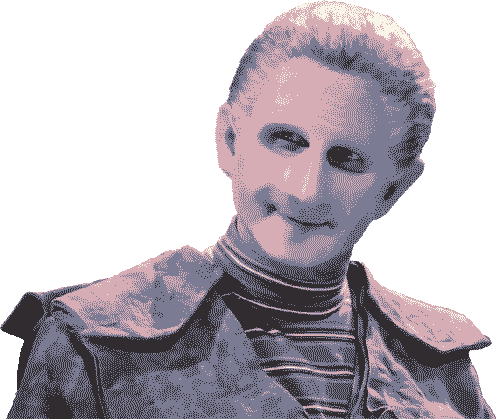
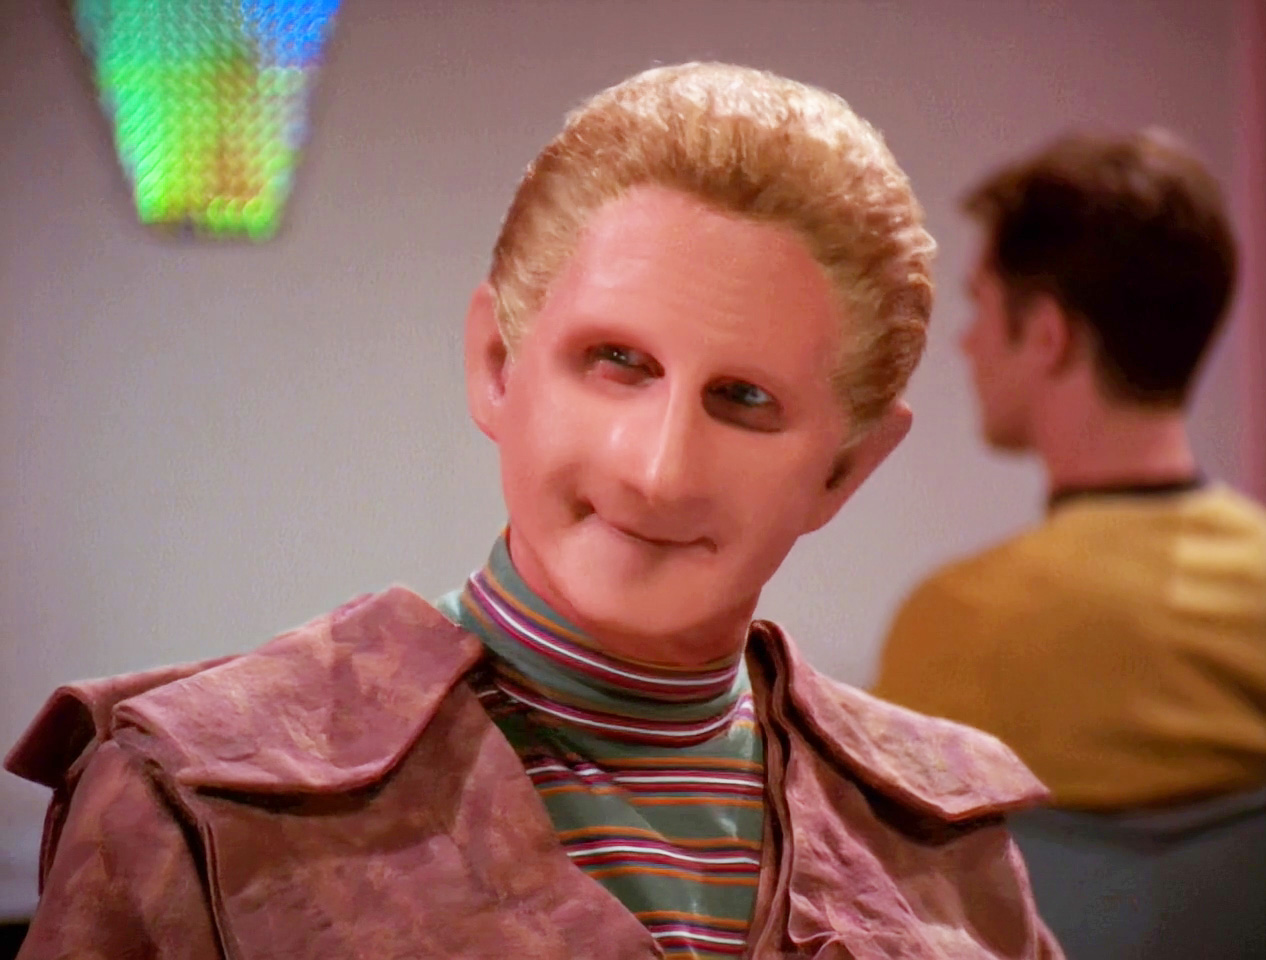
for this tutorial, i'll be making a pixel graphic of odo from deep space nine.
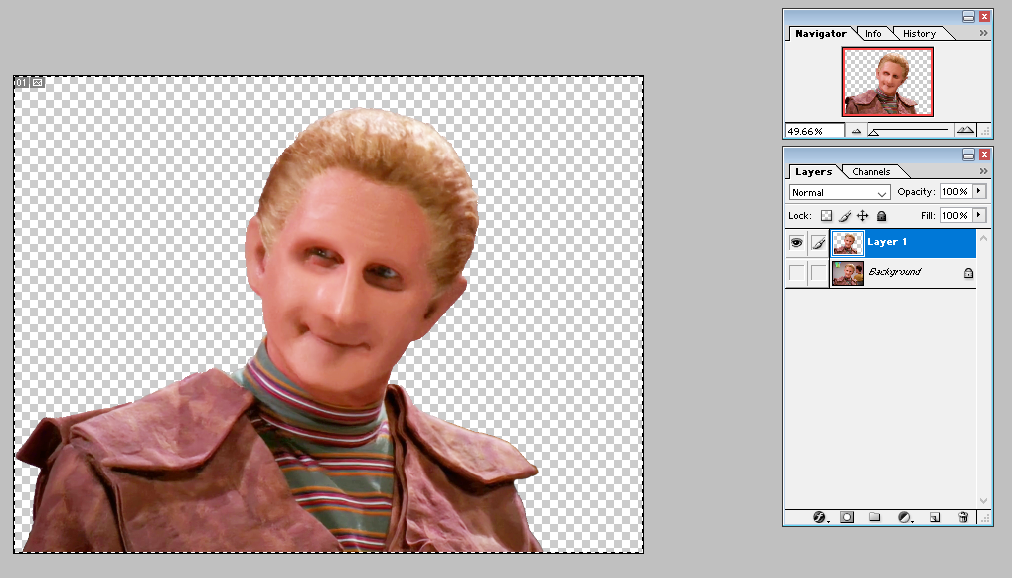
we'll start by duplicating the layer, turning off the bottom layer's visibility, and erasing the background, leaving him transparent. don't worry about making it too perfect. press ctrl + a, ctrl + c, ctrl + n, click OK, ctrl + v. this should leave you with a tighter image, no blank space surrounding him.
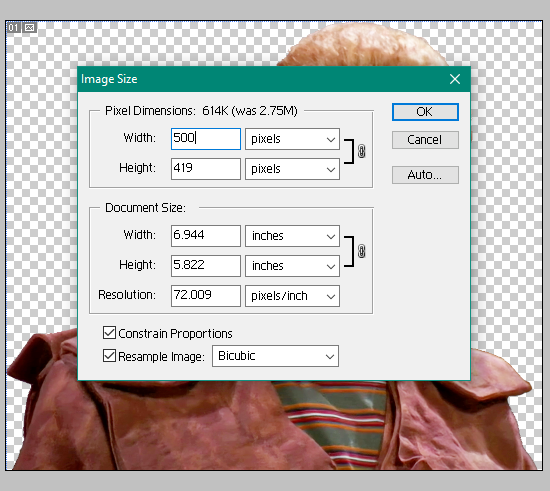
on your new document, make the background layer invisible again and go to Image > Image Size. whatever the larger of the two numbers is, you'll want to make 500px or less for the best results. don't worry about the other number, it should change on its own as long as you have "Constrain Proportions" checked. you can do whatever you want really, but keep in mind we're making pixel graphics for a webpage and you don't want to end up with the pixels looking blurry from compression.
next, the fun part! go to File > Save for Web. a new window should pop up like this, though your settings might be different.
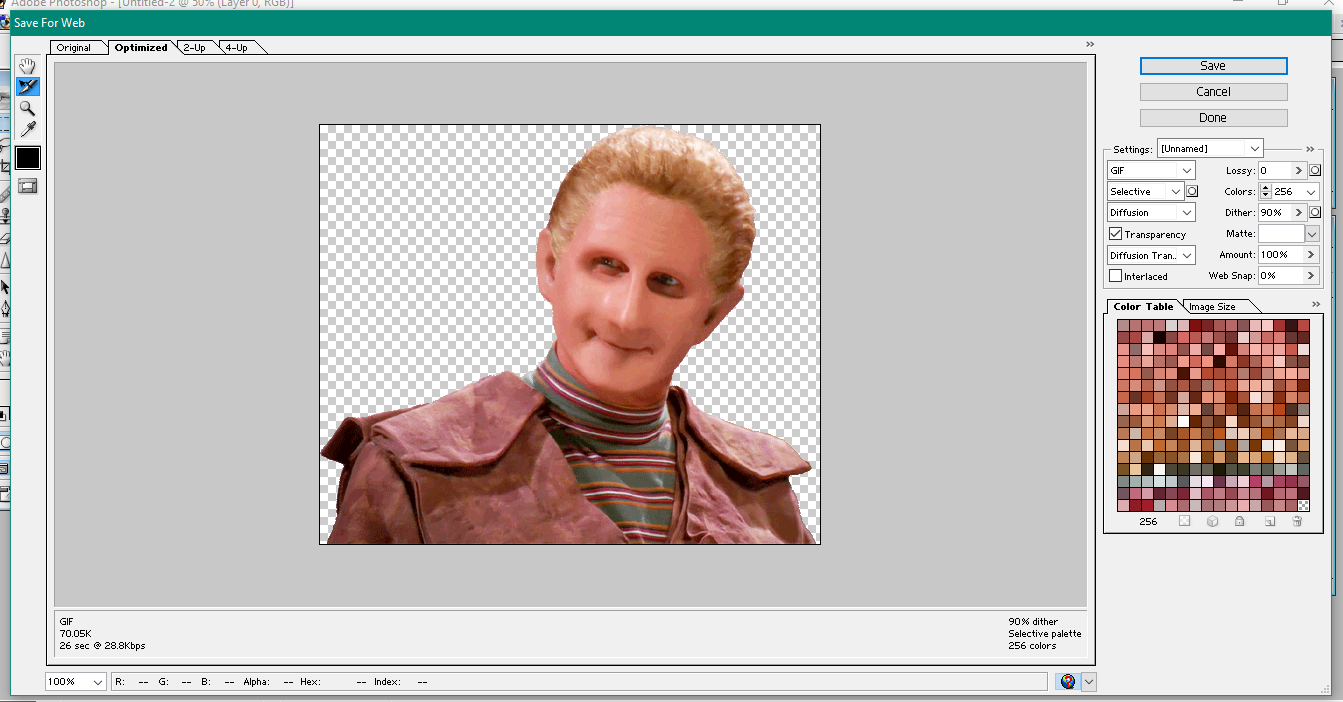
in settings, change Colours to whatever you need - in this tutorial, i'll be using 5 - keep in mind that transparency counts as a colour. click anywhere else in the window and the colours should automatically change to number you selected. you can change the rest of the settings to your liking - a lower dither number makes the colours look more blocky and less blended but i like to keep it between 60 and 90 percent.
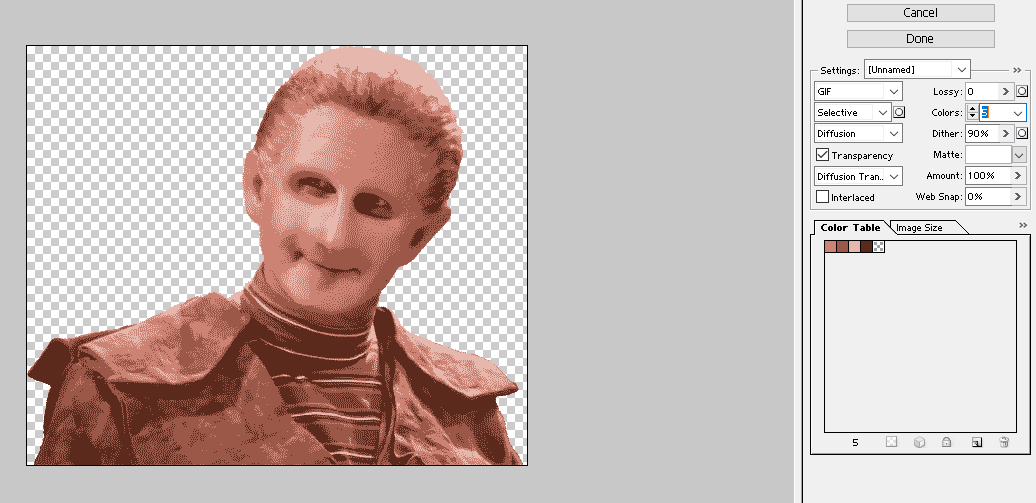
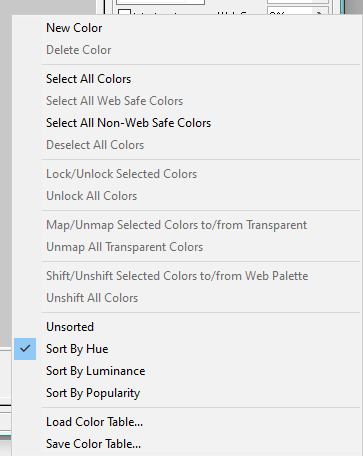
in the Colour Table, double click any colour and you can change it to what you'd like. try to keep dark colours dark and so on according to your palette. you can save a palette if you like it for quick access later on - click the arrows on the far right and click Save Color Table or Load Color Table. i'll be loading my pink and purple palette. you can experiment with colours on your own and save your own table.
when you get the colours to your liking, click the "Save" button and save your file! now, you can finish here, but i like to do a little further editing to clean it up.

open your new gif file in photoshop. ctrl + a, ctrl + c, ctrl + n, click OK, ctrl + v. fill the background layer with black or another solid colour. here, you can see all the little extra bright pixels on the edge...
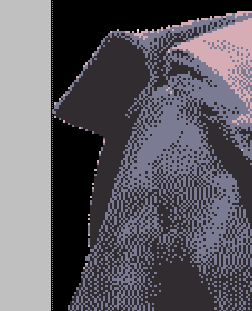
these are distracting to me so i just erase them using the Rectangular Marquee Tool + ctrl + x, never the eraser. it's tedious but you get a much cleaner look in the end.
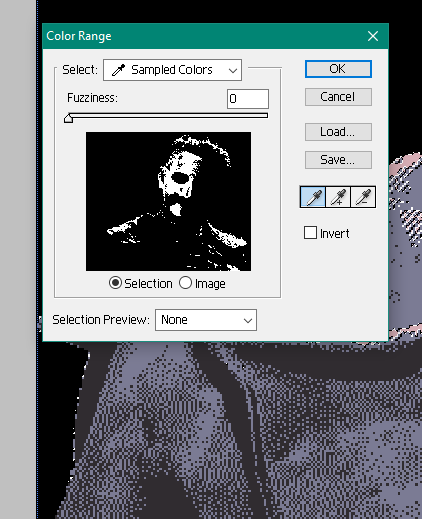
another quick way to do this is eyedropping the offending colour, go to Select > Color Range. set it to 0 and click OK. now only that colour will be selected and you can use the Eraser tool more freely. you can also just clean up any stray pixels that look off to you.
once you're done with cleanup, just turn off the background layer and save your gif again. done! enjoy your new graphic!